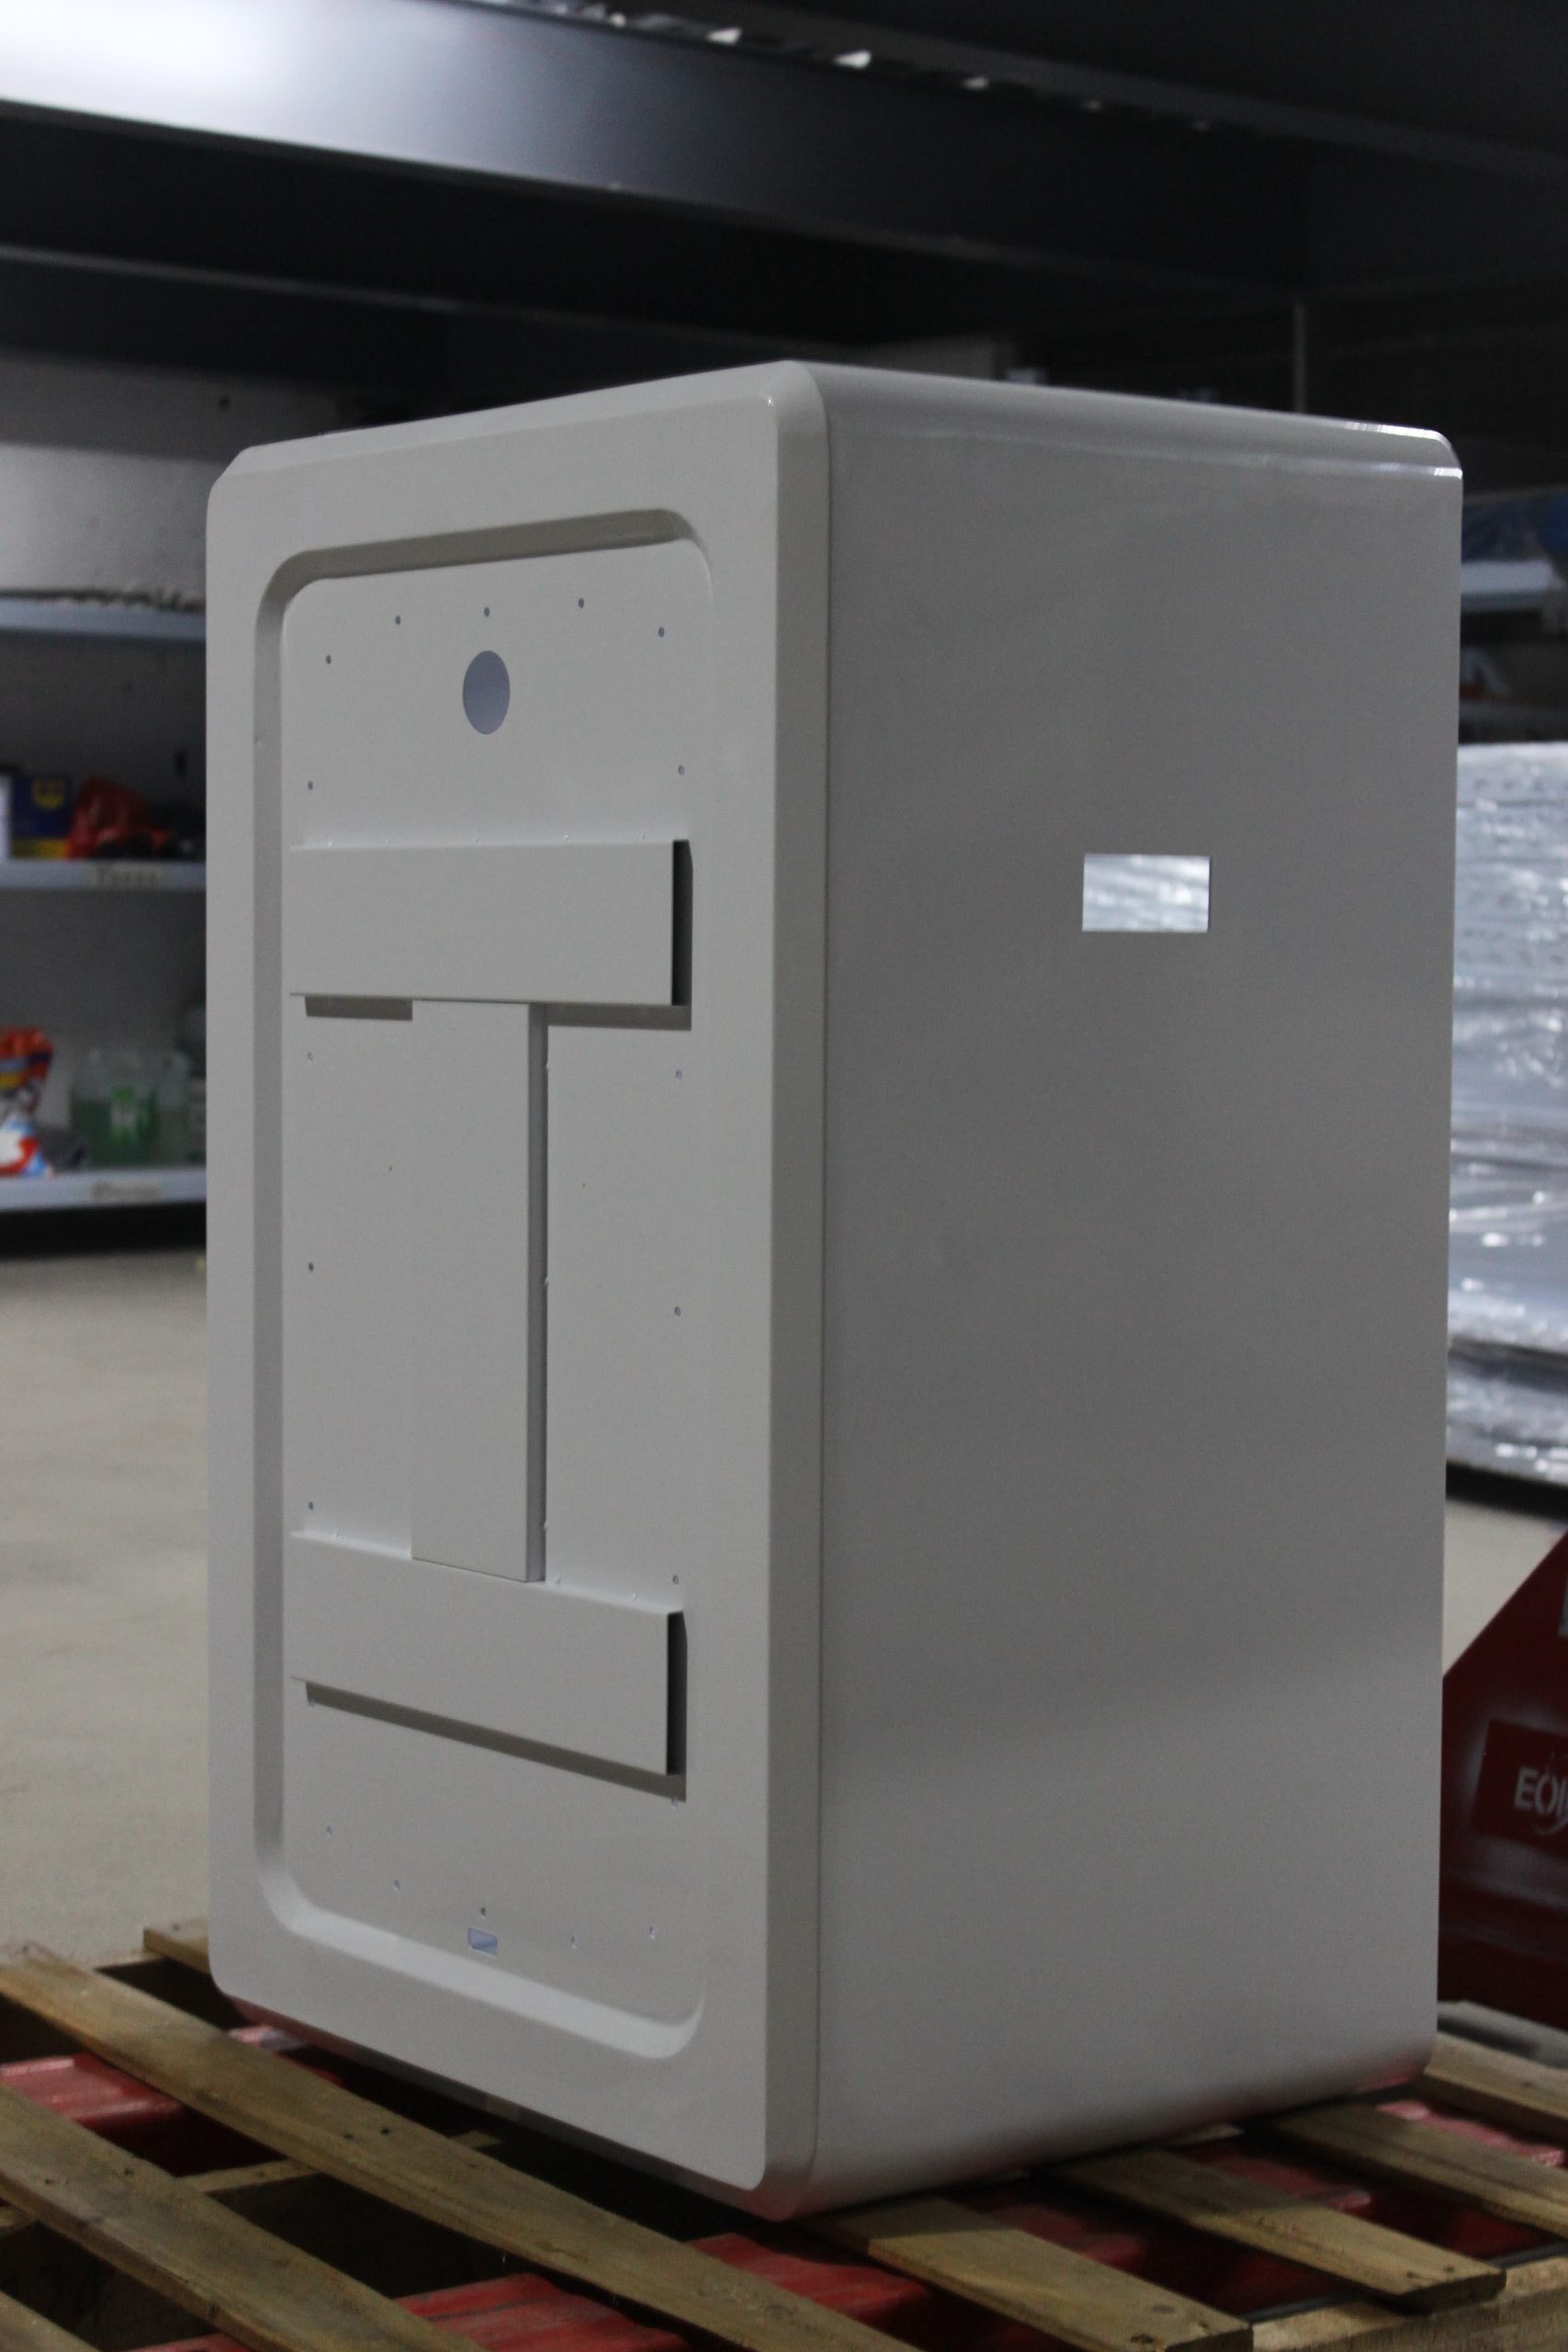
Weld Dressing and Cosmetic Finishing: From “Welded” to “Invisible”
In sheet metal welding, the welding pass only completes the structural joint. What actually determines how a product looks is the post-weld treatment. The same weld seam may appear as an obvious welded joint when left untreated, or be virtually invisible when properly dressed. This is the value of weld dressing and cosmetic finishing. Many export orders and cosmetic-part orders specify weld appearance requirements, and failing to meet them can lead to rejection of the entire batch. Based on Minshuo Smart Manufacturing’s practical experience in post-weld processing, this article explains the key points of weld dressing.
1. Why Weld Seams Need Treatment
Weld treatment is not only about appearance. It serves four functions at once:
| Purpose | Description |
|---|---|
| Appearance | Removes weld convexity and ripple pattern to meet cosmetic-part standards |
| Hygiene | Eliminates weld concavity and slag traps, important for medical and food equipment |
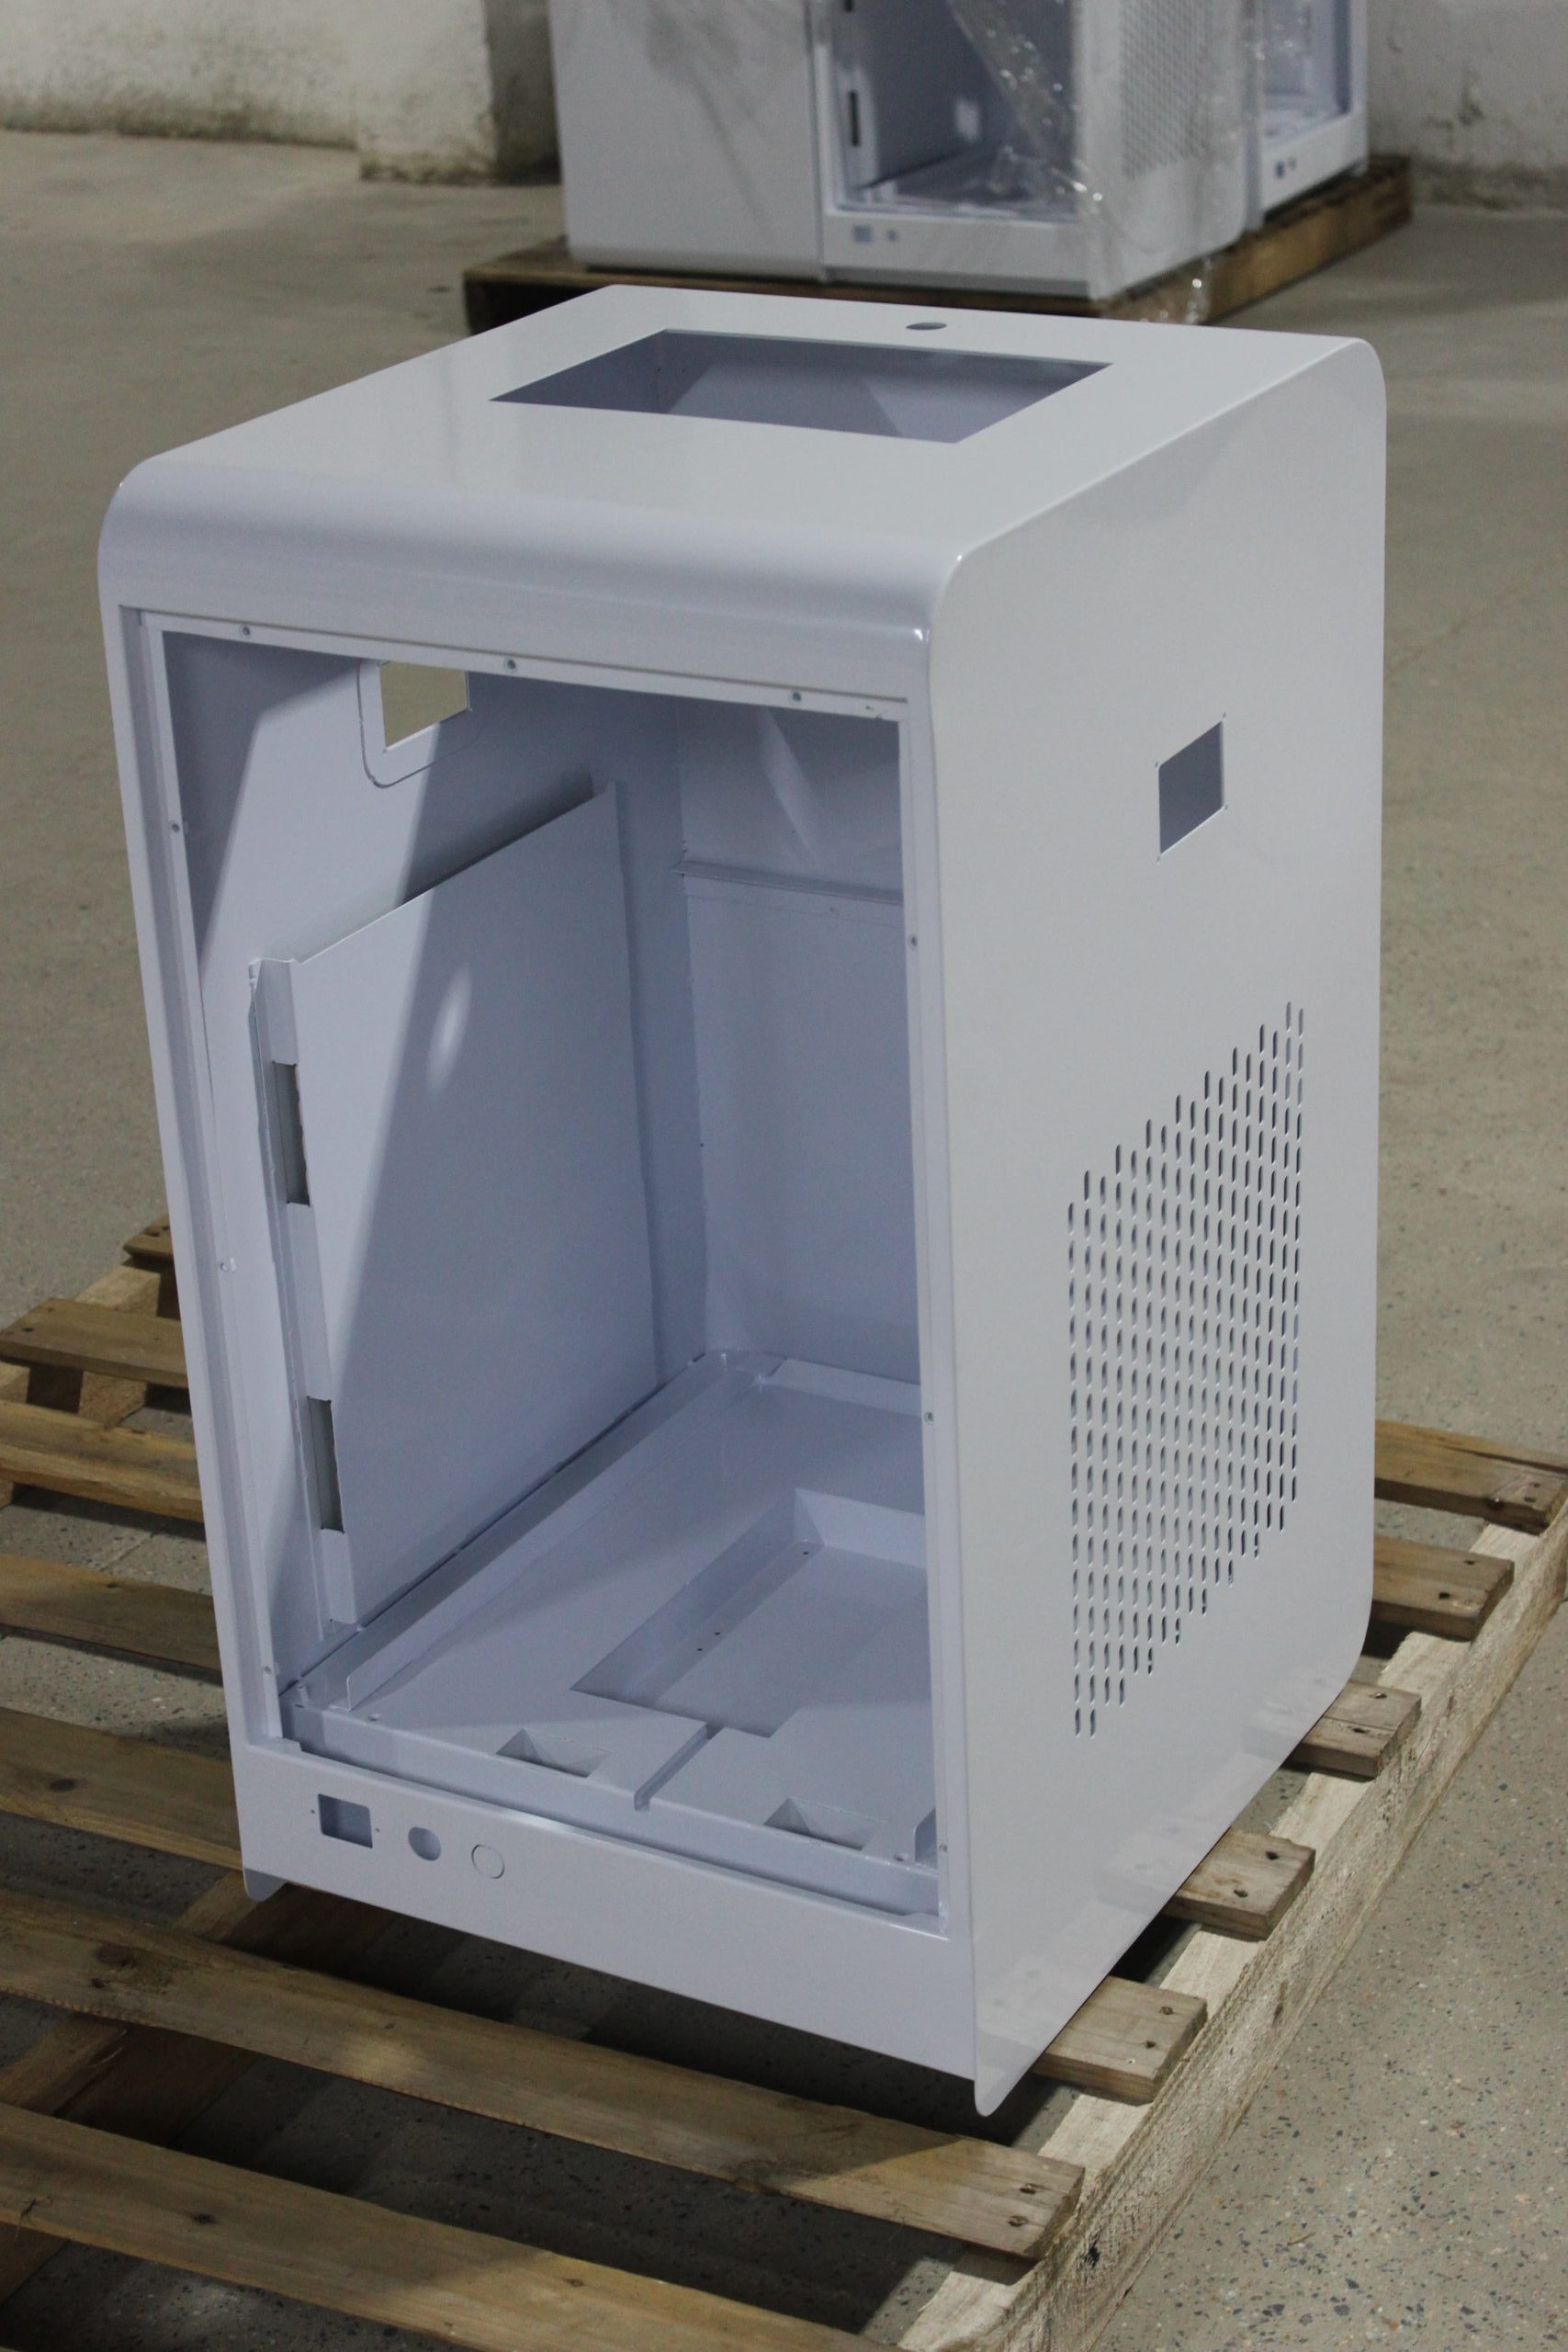
| Coating | A flush weld allows uniform powder or paint film thickness and prevents show-through and craters |
| Corrosion resistance | Dressing combined with pickling and passivation restores corrosion resistance in stainless steel weld zones |
Minshuo Smart Manufacturing reminder: Cosmetic finishing is not a way to conceal defects. If the weld itself contains porosity, lack of fusion, or undercut, grinding only hides the problem and it will emerge more severely in service. Weld quality is the prerequisite; dressing is only refinement and optimization.
2. Complete Weld Treatment Flow
Post-weld inspection -> Slag and spatter removal -> Coarse grinding (remove reinforcement) -> Fine grinding (leveling) -> Surface finishing (brushing / polishing / pickling and passivation) -> Cleaning and drying -> Appearance inspectionNo step can be skipped. Pickling and passivation in particular: if a stainless steel part skips this step, it becomes more prone to rust after grinding, not less.
3. Selecting Grinding Tools
3.1 Main Tool Types
| Tool | Use | Characteristic |
|---|---|---|
| Angle grinder | Remove spatter and heavy weld reinforcement | High efficiency, but prone to over-grinding and scratches |
| Die grinder | Fine grinding and internal corners | Good control, suitable for small areas |
| Belt sander | Large-area leveling and brushing | Uniform pattern and relatively high efficiency |
| Flap disc | Medium-fine grinding | Versatile |
| Polishing wheel | Mirror polishing | For high-gloss requirements |
| Stainless steel brush | Weld cleaning and texture unification | Avoids carbon steel contamination |
3.2 Abrasive Grit Selection
The grinding sequence should follow the principle of coarse to fine, stepping only one or two grit levels at a time:
| Stage | Grit | Function |
|---|---|---|
| Coarse grinding | 40-80 grit | Remove reinforcement, spatter, and oxide layer |
| Medium grinding | 120-180 grit | Remove coarse scratches and level the surface |
| Fine grinding | 240-320 grit | Refine the surface |
| Polishing/brushing | 400 grit and above | Achieve the appearance requirement |
Key principle: The next grinding direction should be perpendicular to the previous one, so it is easy to see whether the previous scratches have been completely removed.
4. Treatment Methods by Weld Type
4.1 Butt Welds
- Remove slag first and check for lack of fusion.
- Use an angle grinder to coarse-grind the reinforcement along the weld direction.
- Level with a belt sander or flap disc, taking care not to thin the base material.
- Cosmetic parts should be ground flush with the base material and reach the specified roughness.
4.2 Fillet Welds
- Preserve the required throat thickness; do not grind away too much.
- Use a die grinder with a small-diameter head for internal corners.
- Cosmetic fillet welds can be finished with a slightly concave radius transition.
- Check that grinding has not reduced the weld cross-section below the requirement.
4.3 Tack and Intermittent Welds
- Tack marks should be ground flush to avoid local depressions that collect water.
- Intermittent welds should be dressed uniformly overall.
- For intermittent welds with sealing requirements, weld up first and then dress.
5. Appearance Standards and Acceptance
5.1 Appearance Grades
| Grade | Requirement | Typical application |
|---|---|---|
| Grade A (mirror) | Weld invisible, surface uniform | Premium medical, precision instruments |
| Grade B (cosmetic) | Weld essentially invisible, slight texture variation permitted | Cabinets, equipment enclosures |
| Grade C (semi-cosmetic) | Weld visible but free of convexity, concavity, and spatter | Internal structural parts |
| Grade D (structural) | No appearance requirement; spatter removal only | Support structures |
5.2 Acceptance Methods
- Visual inspection: Under standard lighting at a viewing distance of 500 mm.
- Hand feel: Wipe with a finger or white cloth to check for protrusions and snags.
- Reference sample comparison: Compare color and texture against the approved sample.
- Roughness measurement: Use a roughness tester to measure Ra.
- Pickling check: Confirm no residual weld marks or heat tint.
6. Effect of Grinding on the Material
6.1 Heat Input and Stress
Grinding generates local heat, and excessive grinding can cause:
- Local deformation of thin sheet.
- Grinding-induced color change on the surface.
- Local annealing of stainless steel, reducing corrosion resistance.
Control methods: Control rotation speed, avoid dwelling in one spot, and use coolant when necessary.
6.2 Cross-Contamination of Stainless Steel
This is the most easily overlooked problem. Using a grinding disc that has been used on carbon steel to grind stainless steel embeds iron particles, and rust spots will appear on the stainless steel surface in a humid environment.
Control methods:
- Use dedicated tools and abrasives for stainless steel, stored and used separately.
- Do not clean stainless steel welds with a carbon steel brush.
- Pickle and passivate after grinding.
Minshuo Smart Manufacturing experience: We once delivered a batch of 304 stainless steel cabinets with acceptable weld appearance, but rust spots appeared near the welds three months later at a coastal customer. Investigation found that a carbon steel grinding disc had been used in the dressing step, embedding iron particles. After switching to dedicated abrasives and adding pickling and passivation, the problem was completely resolved. This type of problem often only appears at the end user, and the cost is extremely high.
6.3 Base-Material Thinning
Excessive grinding thins the base material, especially on thin sheet and butt welds. Recommendations:
- Set an upper limit on grinding allowance, for example no more than 10% of sheet thickness.
- Re-measure critical structural welds after dressing.
- Use a template or caliper to control grinding depth.
7. Post-Treatment Processes
7.1 Pickling and Passivation
After welding and grinding, stainless steel must be pickled and passivated to restore corrosion resistance:
- Use stainless-steel-specific pickling paste or solution.
- Keep it on the surface for 10-30 minutes, then rinse thoroughly.
- Never use chloride-containing cleaners.
- Verify passivation with a test such as the ferroxyl (blue dot) test.
7.2 Brushing
- The grain direction of dressing should match the overall brushing direction.
- Use stainless-steel-specific flap wheels or brushing wheels.
- Pay attention to texture transition at joints.
- Apply fingerprint-resistant treatment after finishing.
7.3 Polishing
- Polish progressively from coarse to fine.
- Use dedicated polishing compound and avoid residue.
- Clean thoroughly after polishing to prevent compound residue from causing coating defects.
8. Common Defects and Countermeasures
| Defect | Cause | Countermeasure |
|---|---|---|
| Remaining depression after grinding | Insufficient weld reinforcement or undercut | Weld up and grind again |
| Surface scratches | Grit level skipped or foreign matter on the tool | Grind progressively by grit and keep tools clean |
| Local discoloration | Grinding heat | Reduce speed and allow pauses |
| Rust spots | Iron contamination or no passivation | Use dedicated tools and add pickling and passivation |
| Uneven surface | Inconsistent technique | Use a belt sander or a fixture for support |
| Base-material thinning | Over-grinding | Set a depth limit and strengthen re-inspection |
| Show-through after powder coating | Weld not leveled or porosity present | Inspect after grinding and weld up if necessary |
9. Summary
Weld dressing and cosmetic finishing is a process that looks simple but requires real discipline. It tests not only hand skills but also tool management, process standards, and process control.
Minshuo Smart Manufacturing has established complete standards for post-weld processing: separate tool zones for stainless steel and carbon steel, grit levels recorded step by step, blue-dot testing after pickling and passivation, and approved-sample comparison for cosmetic parts. We hold to one principle: appearance is the customer’s first impression of product quality, and no minute spent on post-weld treatment is wasted.
The process parameters in this article are based on practical production experience and are provided for reference only. Confirm the actual operation according to the material, weld type, and customer appearance standard.